Table Of Contents
Cleaning the Blower Wheel
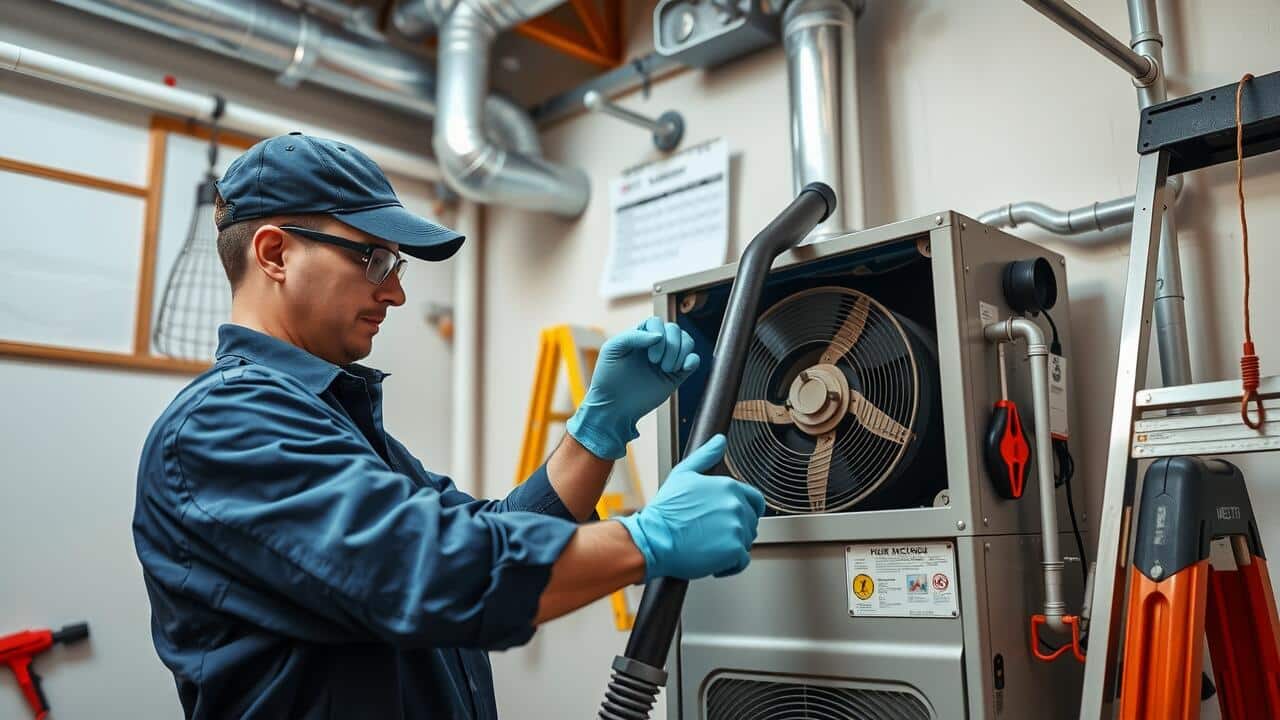
Cleaning the blower wheel is a crucial step in air handler maintenance. Over time, dirt and debris can accumulate on the blower wheel, which reduces efficiency and may lead to airflow issues. First, disconnect the power to the air handler to ensure safety. Use a vacuum cleaner with a brush attachment to remove loose dust and dirt from the wheel. If there’s built-up grime, a soft cloth dampened with mild detergent can help clean stubborn spots. Take care not to damage the components during this process.
Following the initial cleaning, inspect the blower wheel for any signs of imbalance or damage. If the wheel appears worn or cracked, consider replacing it to prevent further issues. Regular air handler cleaning contributes not only to a better-performing unit but also to improved indoor air quality. Once satisfied with the condition of the blower wheel, proceed to reassemble the components carefully to ensure everything is in its proper place.
Techniques for Effective Cleaning
Air Handler Cleaning requires specific techniques to ensure thorough removal of dust and debris. Begin by turning off the power to the system. Using a vacuum with a brush attachment can help dislodge dirt from the blower wheel and surrounding areas. A soft brush or cloth can further remove stubborn particles. If the build-up is significant, consider using a mild detergent mixed with water for a deeper clean. Ensure that all components are dry before reassembling to avoid moisture-related issues.
Another effective technique involves inspecting the blade alignment. Misaligned blades can hinder airflow and create additional stress on the system. While cleaning, check for any signs of damage or excessive wear. Utilize a flashlight to reveal hidden areas that might be challenging to access. Regular maintenance of an air handler not only enhances performance but also extends the lifespan of the unit, making these cleaning techniques essential for optimal HVAC functionality.
Inspecting the Blower Motor
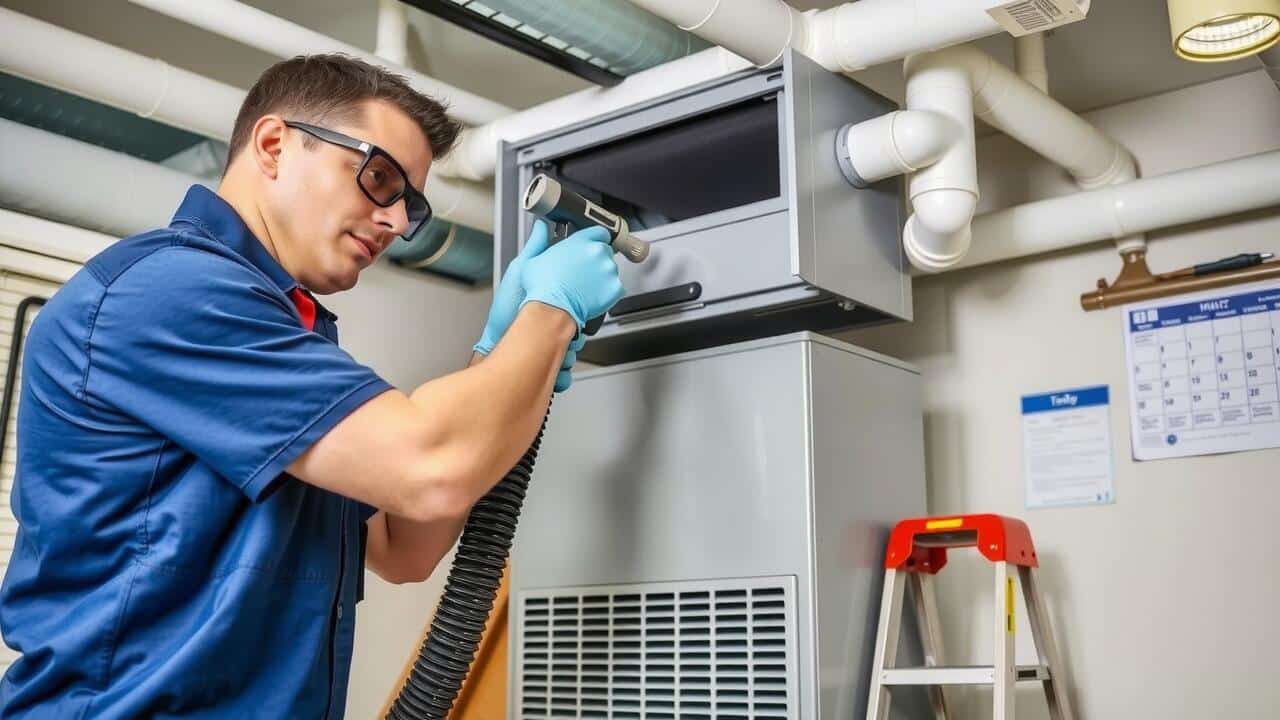
Regular inspection of the blower motor is crucial during air handler cleaning. Signs of wear and tear may include unusual noises, vibrations, or a lack of airflow. A thorough examination can reveal issues like loose wiring or excessive dust accumulation. Identifying these problems early can prevent more significant damage and ensure efficient operation.
When inspecting the blower motor, look for any signs of overheating or rust. A motor that runs excessively hot may indicate the need for lubrication or replacement. Checking for obstructions around the motor can also help maintain optimal performance. Addressing any concerns discovered during this inspection is essential for the longevity of the air handler system.
Signs of Wear and Tear
When inspecting the blower motor, look for any signs of wear and tear that may impact its performance. A common indication of issues includes unusual noises, such as grinding or squeaking sounds. These sounds can signal that the motor bearings are worn out or that there is a misalignment in the components. Additionally, check for any visible damage, such as frayed wires, corrosion, or burnt areas on the motor. Regular air handler cleaning can help prevent excessive dirt buildup that contributes to these wear issues.
Overheating is another sign of possible malfunction in the blower motor. If the motor feels excessively hot to the touch or if the circuit breaker trips frequently, it could point to electrical problems or internal resistance. Dust accumulation can also lead to overheating, so it is essential to keep up with air handler cleaning to ensure optimal airflow. Observing these signs enables timely intervention and maintenance, ultimately prolonging the life of the blower motor.
Reassembling the Air Handler
Once the blower wheel and motor have been thoroughly cleaned and inspected, reassembling the air handler is the next critical step. It’s essential to start by carefully aligning the blower assembly back into its housing. Ensure that all screws and fasteners are tightened securely to prevent any vibrations during operation. Additionally, check that all electrical connections are reattached properly, as any loose wires can lead to operational issues.
After the blower is securely in place, replace any access panels or covers that were removed during the Air Handler Cleaning process. Confirm that the system is free of any obstructions that could hinder airflow. Once everything is secured, it’s advisable to perform a final inspection before restarting the unit. This meticulous approach ensures that your air handler operates efficiently and effectively, providing optimal airflow for the space it serves.
Tips for Proper Assembly
Reassembling the air handler requires careful attention to detail. Before securing any components, ensure that all parts are clean and free of debris. Align the blower wheel with the motor properly to avoid imbalances that could lead to operational issues. When plugging electrical connections back into place, make certain they fit securely to prevent any power loss or short circuits.
After reassembly, it is helpful to conduct a final inspection. Check that all screws and fasteners are tightened to the manufacturer’s specifications. This ensures that the air handler operates smoothly and efficiently. Understanding the importance of Air Handler Cleaning enhances equipment longevity and improves indoor air quality.
FAQS
How often should I clean the air handler blower?
It’s recommended to clean the air handler blower at least once a year, ideally during the fall or spring when the HVAC system is not in heavy use.
What tools do I need to clean the air handler blower?
Essential tools include a vacuum with a brush attachment, a soft cloth, a brush for scrubbing, and a screwdriver for accessing the blower components.
Can I clean the blower wheel without professional help?
Yes, you can clean the blower wheel yourself as long as you follow the proper safety precautions and procedures outlined in the article.
What should I do if I notice signs of wear and tear on the blower motor?
If you notice signs of wear and tear, such as unusual noises or reduced airflow, it’s best to consult a professional technician to assess and possibly replace the motor.
Is it necessary to turn off the power before cleaning the air handler blower?
Yes, always turn off the power to the HVAC system at the breaker before cleaning to ensure safety during the process.